[3]. WEB/WAS Server 구성 - 2. (WAS) Jboss Application Server
(1). Web Server의 종류
- WebLogic : 오라클 웹로직 서버(Oracle WebLogic Server)는 오라클이 개발한 자바 EE 웹 애플리케이션 서버이다. 오라클은 2008년 BEA 시스템즈를 인수하면서 웹로직 서버를 인수하였다.
- WebSpere : IBM 웹스피어(IBM WebSphere)는 애플리케이션 및 통합 미들웨어로 알려져 있는 전사적 소프트웨어 분야의 소프트웨어 제품 브랜드를 가리킨다. 이 소프트웨어 제품들은 최종 사용자가 애플리케이션을 개발하고 다른 애플리케이션들과 애플리케이션을 연동하기 위해 사용한다. IBM 웹스피어는 1998년 이후로 대중 시장에서 판매되고 있다.
- JBOSS : 와일드플라이(WildFly, 이전 이름: JBoss)는 자바를 기반으로 하는 오픈 소스 미들웨어의 총칭이다. 대표적으로 Java EE 스펙을 지원하는 제이보스 애플리케이션 서버가 있다. 현재 40개 이상의 다양한 프로젝트가 있으며, Jboss.org 커뮤니티에 의해 개발 및 운영되고 있다.
- Jetty : 제티는 자바 HTTP (웹) 서버이자 자바 서블릿 컨테이너이다. 웹 서버가 보통 문서를 사람들에게 제공하는 것과 관련된 반면, 제티는 대규모 소프트웨어 프레임워크에서 기계와 기계의 커뮤니케이션에 사용된다. 제티는 자유 소프트웨어이고 이클립스 재단의 오픈소스 프로젝트로 개발되었다. 제티는 웹서버로 다음과 같은 제품에 사용된다: Apache ActiveMQ, Alfresco, 아파치 제로니모, 아파치 메이븐, Apache Spark, Google App Engine,이클립스, FUSE, iDempiere, Twitter's Streaming API, Zimbra.제티는 다음과 같은 오픈소스 프로젝트에도 사용된다: Lift, Eucalyptus, Red5, 하둡, I2P. 제티는 최신 버전의 자바 서블릿 API (JSP 포함)을 지원할 뿐만 아니라, HTTP/2와 웹소켓 프로토콜도 지원한다.
- Sun Application Server : 글래스피시(GlassFish)는 썬 마이크로시스템즈에서 개발하는 자바 EE 기반 웹 애플리케이션 서버이다. 썬사는 이 제품을 Sun Java System Application Server 9.X로 판매하고 있다.
- Tomcat : 아파치 톰캣(Apache Tomcat)은 아파치 소프트웨어 재단에서 개발한 서블릿 컨테이너(또는 웹 컨테이너)만 있는 웹 애플리케이션 서버이다.
- Jeus : 제우스(JEUS, Java Enterprise User Solution의 준말)는 티맥스소프트사에서 제작한 한국산 웹 애플리케이션 서버(WAS)이다. 현재 기업에서 사용하는 웹 시스템에 사용되고 있으며, 웹 서버인 웹투비와 같이 사용되고 있다.
- 출처 : wikipedia.org
(2). 다운로드 : https://developers.redhat.com/products/eap/download
- 현재 버전 : 7.4 Beta
- 설치 버전 : 7.1.0
- 설치나 운영 방법에는 큰 차이가 없다. 자신에게 맞는 버전을 설치 하면된다.
(3). 설치전 커널 파라미터 수정
- 커널 파라미터 : etc/sysctl.conf
net.core.wmem_max = 1048576
net.core.rmem_max = 26214400
net.core.rmem_default = 26214400
net.core.wmem_default = 1048576
(4). jboss 계정 생성
[jboss@localhost ~] useradd jboss        # Jboss를 설치할 계정을 생성
[jboss@localhost ~] su - jboss           # Jboss계정으로 로그인
(5). Console 환경에서 설치하기
- 설치 실행
[jboss@localhost ~]$ java -jar jboss-eap-7.1.0-installer.jar -console
[jboss@localhost ~]$ java -jar -d32 jboss-eap-7.1.0-installer.jar -console
[jboss@localhost ~]$ java -jar -d64 jboss-eap-7.1.0-installer.jar -console
- 설치 시작
[root@localhost ]$ java -jar -d64 jboss-eap-7.1.0-installer.jar -console
Select language :
0: eng
1: chn
2: deu
3: fra
4: jpn
5: por
6: spa
Please choose [-1] : 0
- 라이선스
END USER LICENSE AGREEMENT
 RED HAT JBOSS(r) MIDDLEWARE(tm)
PLEASE READ THIS END USER LICENSE …….
…………………
the property of their respective owners.
press 1 to continue, 2 to quit, 3 to redisplay.   -> 1
- 설치 경로 선택
Select the installation path: [/home/jboss/EAP-7.1.0]

press 1 to continue, 2 to quit, 3 to redisplay.  -> 1
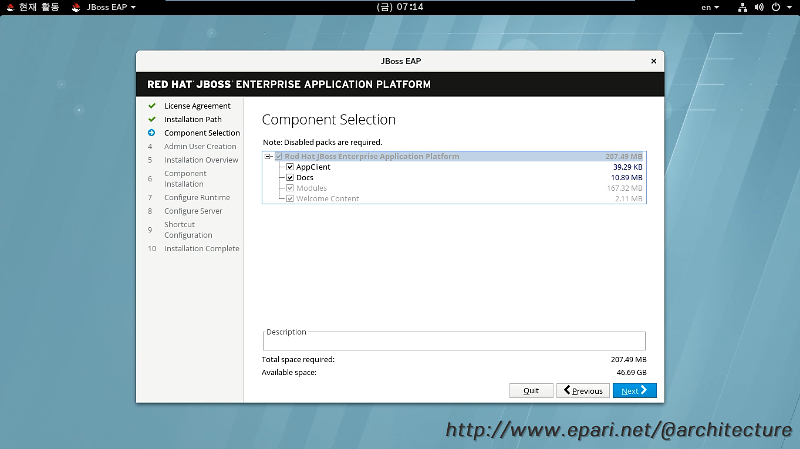
- 설치 패키지 선택
Select the packs you want to install:
1  [x] [Required]   [Red Hat JBoss Enterprise Application Platform] (27.13 MB)
2  [x]         [AppClient] (39.29 KB)
3  [x]         [Docs] (10.89 MB)
4  [x] [Required]   [Modules] (167.32 MB)
5  [x] [Required]   [Welcome Content] (2.11 MB)
Total Size Required: 207.49 MB
Press 0 to confirm your selections
Please select which packs you want to install   -> 0

Pack Selection Done
press 1 to continue, 2 to quit, 3 to redisplay.  -> 1
- 관리 콘솔 패스워드 설정
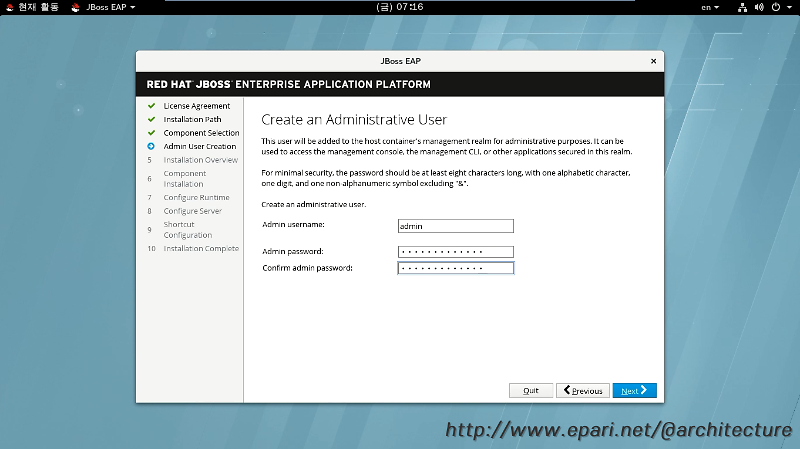
Create an Administrative User
This user will be added to the host container
For minimal security, the password should be at least eight characters long, with one alphabetic character, one digit, and one non-alphanumeric symbol excluding "&".
Admin username: [admin]
Admin password: []
*************
Confirm admin password: [*************]
*************
press 1 to continue, 2 to quit, 3 to redisplay. -> 1
- 언 패키징
[ Starting to unpack ]
[ Processing package: Red Hat JBoss Enterprise Application Platform (1/5) ]
[ Processing package: AppClient (2/5) ]
[ Processing package: Docs (3/5) ]
[ Processing package: Modules (4/5) ]
[ Processing package: Welcome Content (5/5) ]
[ Unpacking finished ]
- 설치 옵션
Configure Runtime Environment
There are several additional options for configuring Red Hat JBoss Enterprise Application Platform now that the server has been installed. Each option can be individually chosen, and will be configured in the order displayed upon pressing "Next". What would you like to do now?
0 [x] Perform default configuration
1 [ ] Perform advanced configuration
Input Selection:  -> 0

press 1 to continue, 2 to quit, 3 to redisplay. -> 1
- 설치 시작
[ Starting processing ]
Starting process Logging installation information (1/3)
IzPack variable state written to /home/jboss/EAP-7.1.0/installation/InstallationLog.txt
Starting process Adding admin user (2/3)
WARNING: An illegal reflective access operation has occurred
WARNING: Illegal reflective access by __redirected.__SAXParserFactory (file:/home/jboss/EAP-7.1.0/jboss-modules.jar) to constructor com.sun.org.apache.xerces.internal.jaxp.SAXParserFactoryImpl()
WARNING: Please consider reporting this to the maintainers of __redirected.__SAXParserFactory
WARNING: Use --illegal-access=warn to enable warnings of further illegal reflective access operations
WARNING: All illegal access operations will be denied in a future release
Starting process Cleanup extraneous folders and temporary files (3/3)

Create shortcuts in the start menu (y/n) [y]: y

Select a program group for the shortcuts: [JBoss Platform]:
- 설치 마무리
[ Creating shortcuts ....... ]
Installation has completed successfully.
Application installed on /home/jboss/EAP-7.1.0

Would you like to generate an automatic installation script and properties file? (y/n) [n]:

[ Console installation done ]
[jboss@localhost Download]$
(6). GUI 환경에서 설치 하기
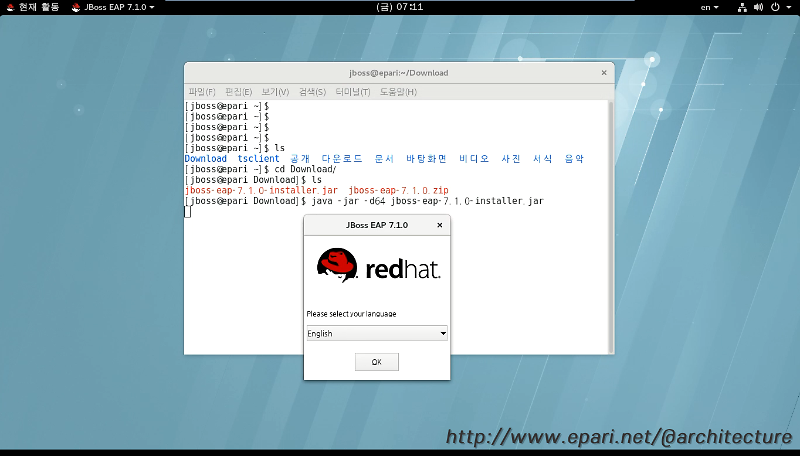
- 설치 실행
[jboss@localhost ~]$ java -jar jboss-eap-7.1.0-installer.jar
[jboss@localhost ~]$ java -jar -d32 jboss-eap-7.1.0-installer.jar
[jboss@localhost ~]$ java -jar -d64 jboss-eap-7.1.0-installer.jar
- 설치 실행(64Bit) - 언어 선택
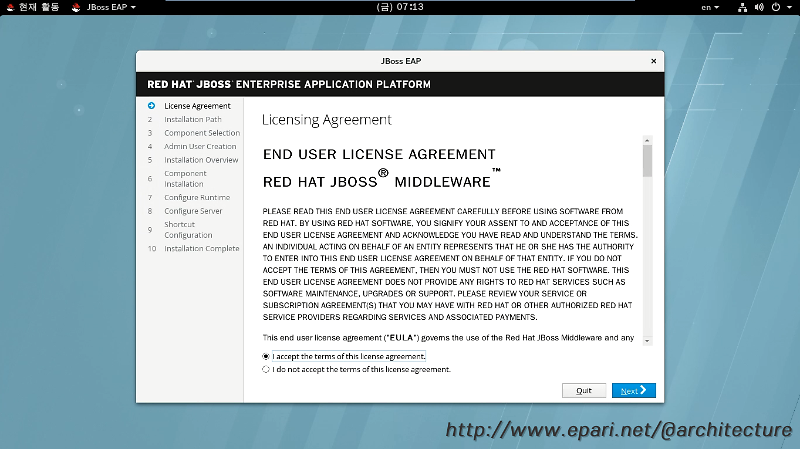
- 라이센스 동의
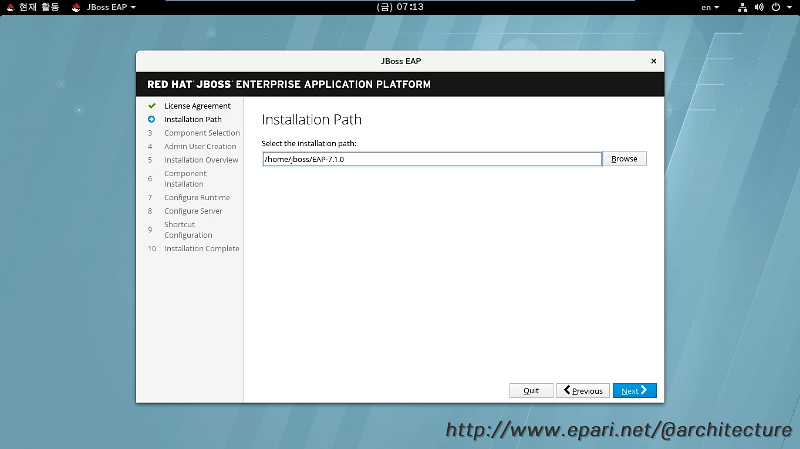
- 설치 경로 선택
- 설치 컴포넌트 선택
- 관리자 계정/패스워드 설정
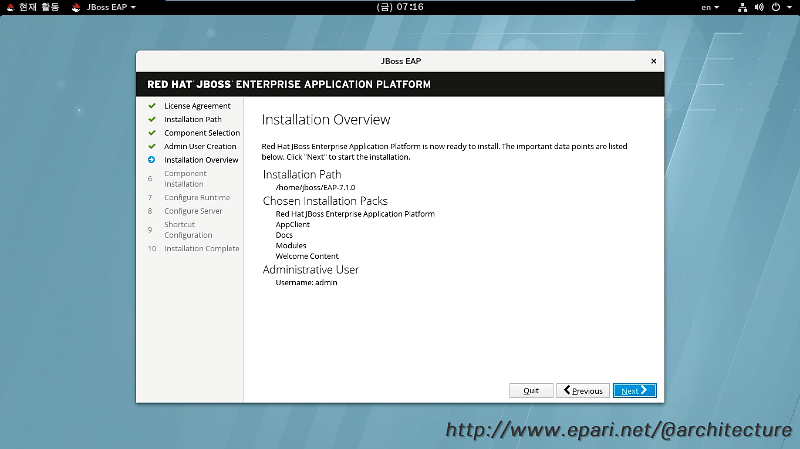
- 설치 정보 요약
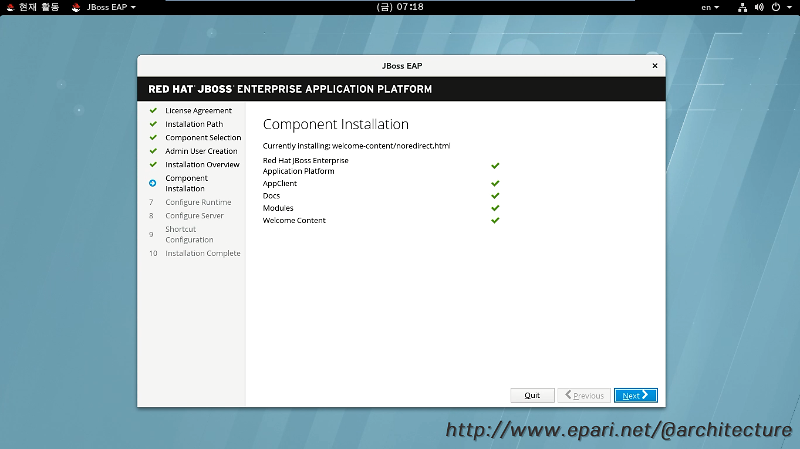
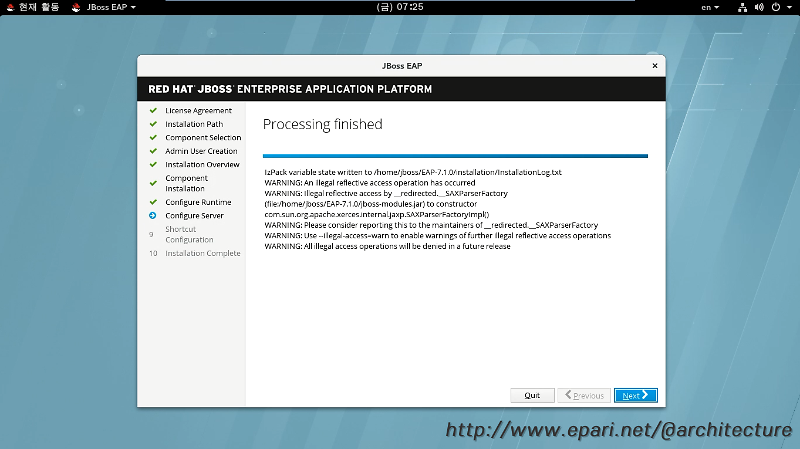
- 설치 진행
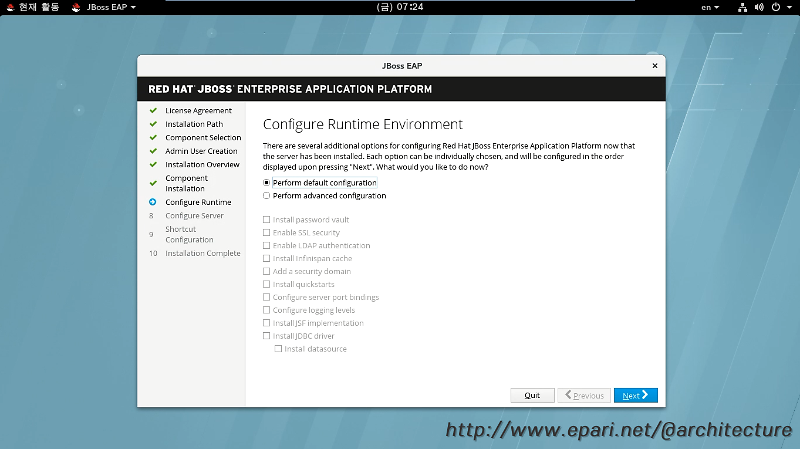
- 설치 옵션(기본 환경 설정)
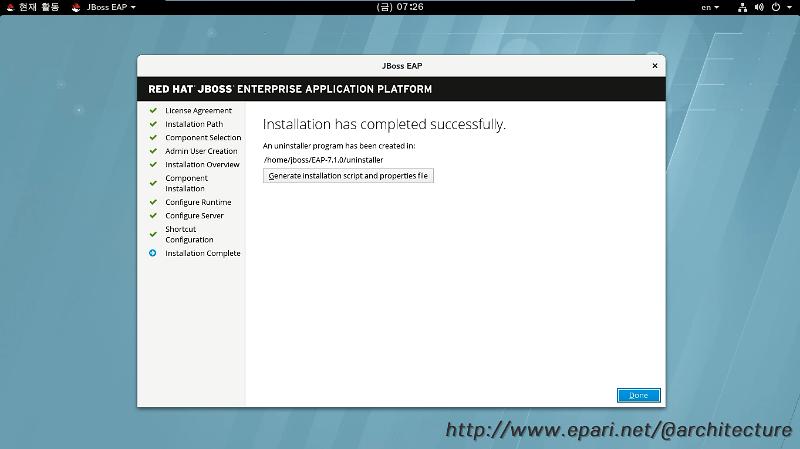
- 설정 완료
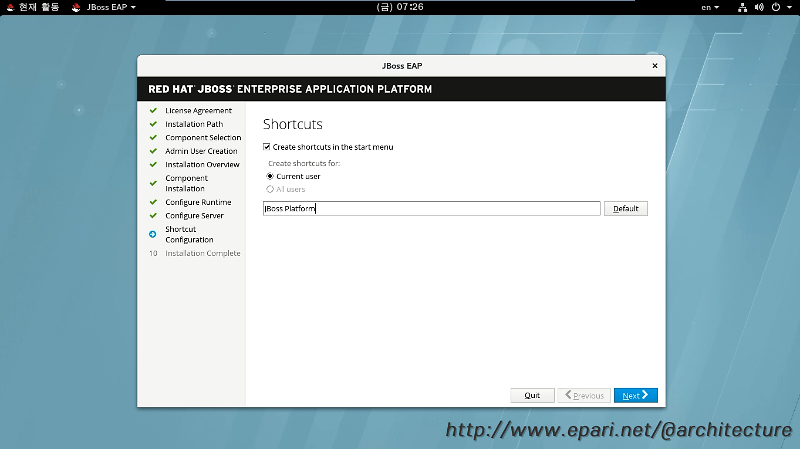
- 시작 메뉴에 구성
- 설치 완료